Background
Automatic record creation in Dynamics 365 Customer Service has been available for many, many years. I remember setting it up in early versions of CRM as far back as CRM 4.0. It was a process that I had to create manually using a workflow that would run when an email was created in Dynamics CRM. It included a check condition that would determine if the email message was in a certain queue. If it was, it would use the contents of the email to create a case.
A few versions of CRM later, we saw Automatic Record Creation. This was a much friendlier interface for users. You could set up your email queue and set up an automatic record creation rule. No longer did they have to navigate workflows or make massive changes when they needed to add, remove, or edit conditions. The system would essentially create a workflow in the background to create cases.
Issue
One limitation we had with both the manual workflow creation or Automatic Record Creation was pulling all the content from the email into the case. The body of the email usually contains key information that a representative finds helpful in determining the issue. If you were to try write the email body into the description field of a case, you would more than likely see a large amount of HTML.
To resolve this issue, I have worked with developers that would use a plugin to write the email body to the description, strip the HTML from the field, and write it back as plain text. The Customer Service Representative could review the description on the case to read the details without having to open the attached email.
Now with the February 2020 release, we have Power Automate to replace the asynchronous workflows that were previously used. This is a very good thing, because with Power Automate, we have a low code/no code way to remove the HTML from description of a case when we populate it with the contents of the email body.
Solution
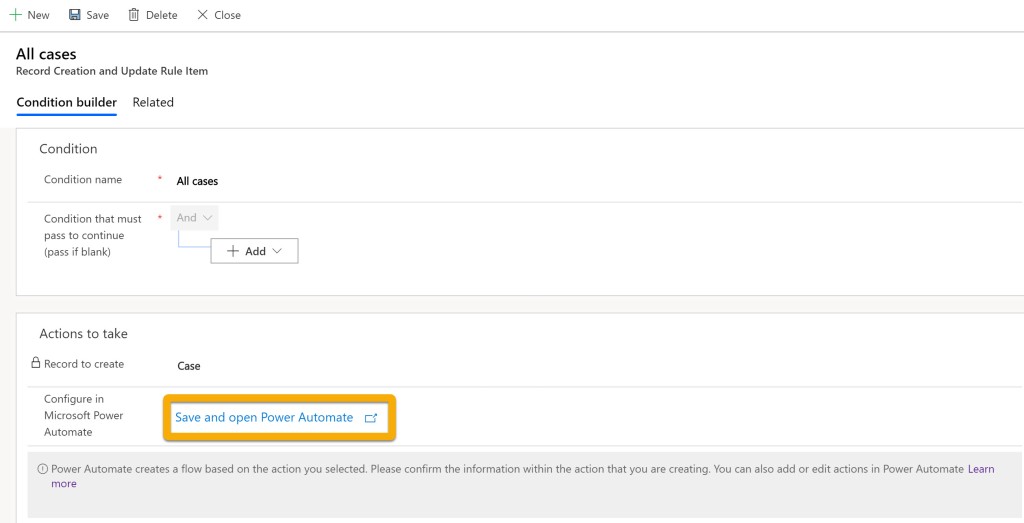
Let’s walk through the process in Dynamics 365 Customer Service and Power Automate. First, we will make the assumption you have already configured your email queue and created an Automatic Record Creation rule and have at least one Record Creation and Update Rule Item.
In the images below, I have only one item created with a blank condition. This item will pass and the actions will be executed. Click on Save and open Power Automate.
Power Automate will open in a new tab. Click Continue.

Scroll down to the bottom and click Add Step. Search for “Content conversion HTML to text”. Select the Html to text (preview) Content Conversion action.

In the Content field, we need to add the body of the email message using Dynamic content. There is quite a large list. Locate the list of values under the [DO NOT EDIT OR REMOVE] When an entity record is created]. Within this group of values, select Description.

Now we need to update the description of the newly created case with the converted text from the email body. Add a CDS Current Environment step for Update a record. Connect to your environment and select Cases as the entity. For the record identifier, locate Case under [DO NOT RENAME] Create primary entity. For Description select “The plain text content.”

Save the flow. You will want to repeat this step for each flow that is created for every Record Create and Update Item to ensure the HTML is removed from the description.
While the Html to text conversion action is under preview, it will give you the opportunity to see how much more helpful it can be for your customer service representatives to see the body of the email in the case. This will save the time by not having to locate the original email in the timeline, open the email and review the contents on another screen.

Thanks Sarah! After you talked about this in your session at D365 Focus I passed it off to our developer. We’ve been struggling with our Cases being too big to open because of all the extra characters.
LikeLike
Thank you Tina! It does help clean up the description and make the process easier when you need to get to the center of the issue.
LikeLike